Hiking the W circuit in Torres del Paine, Patagonia: everything you need to know

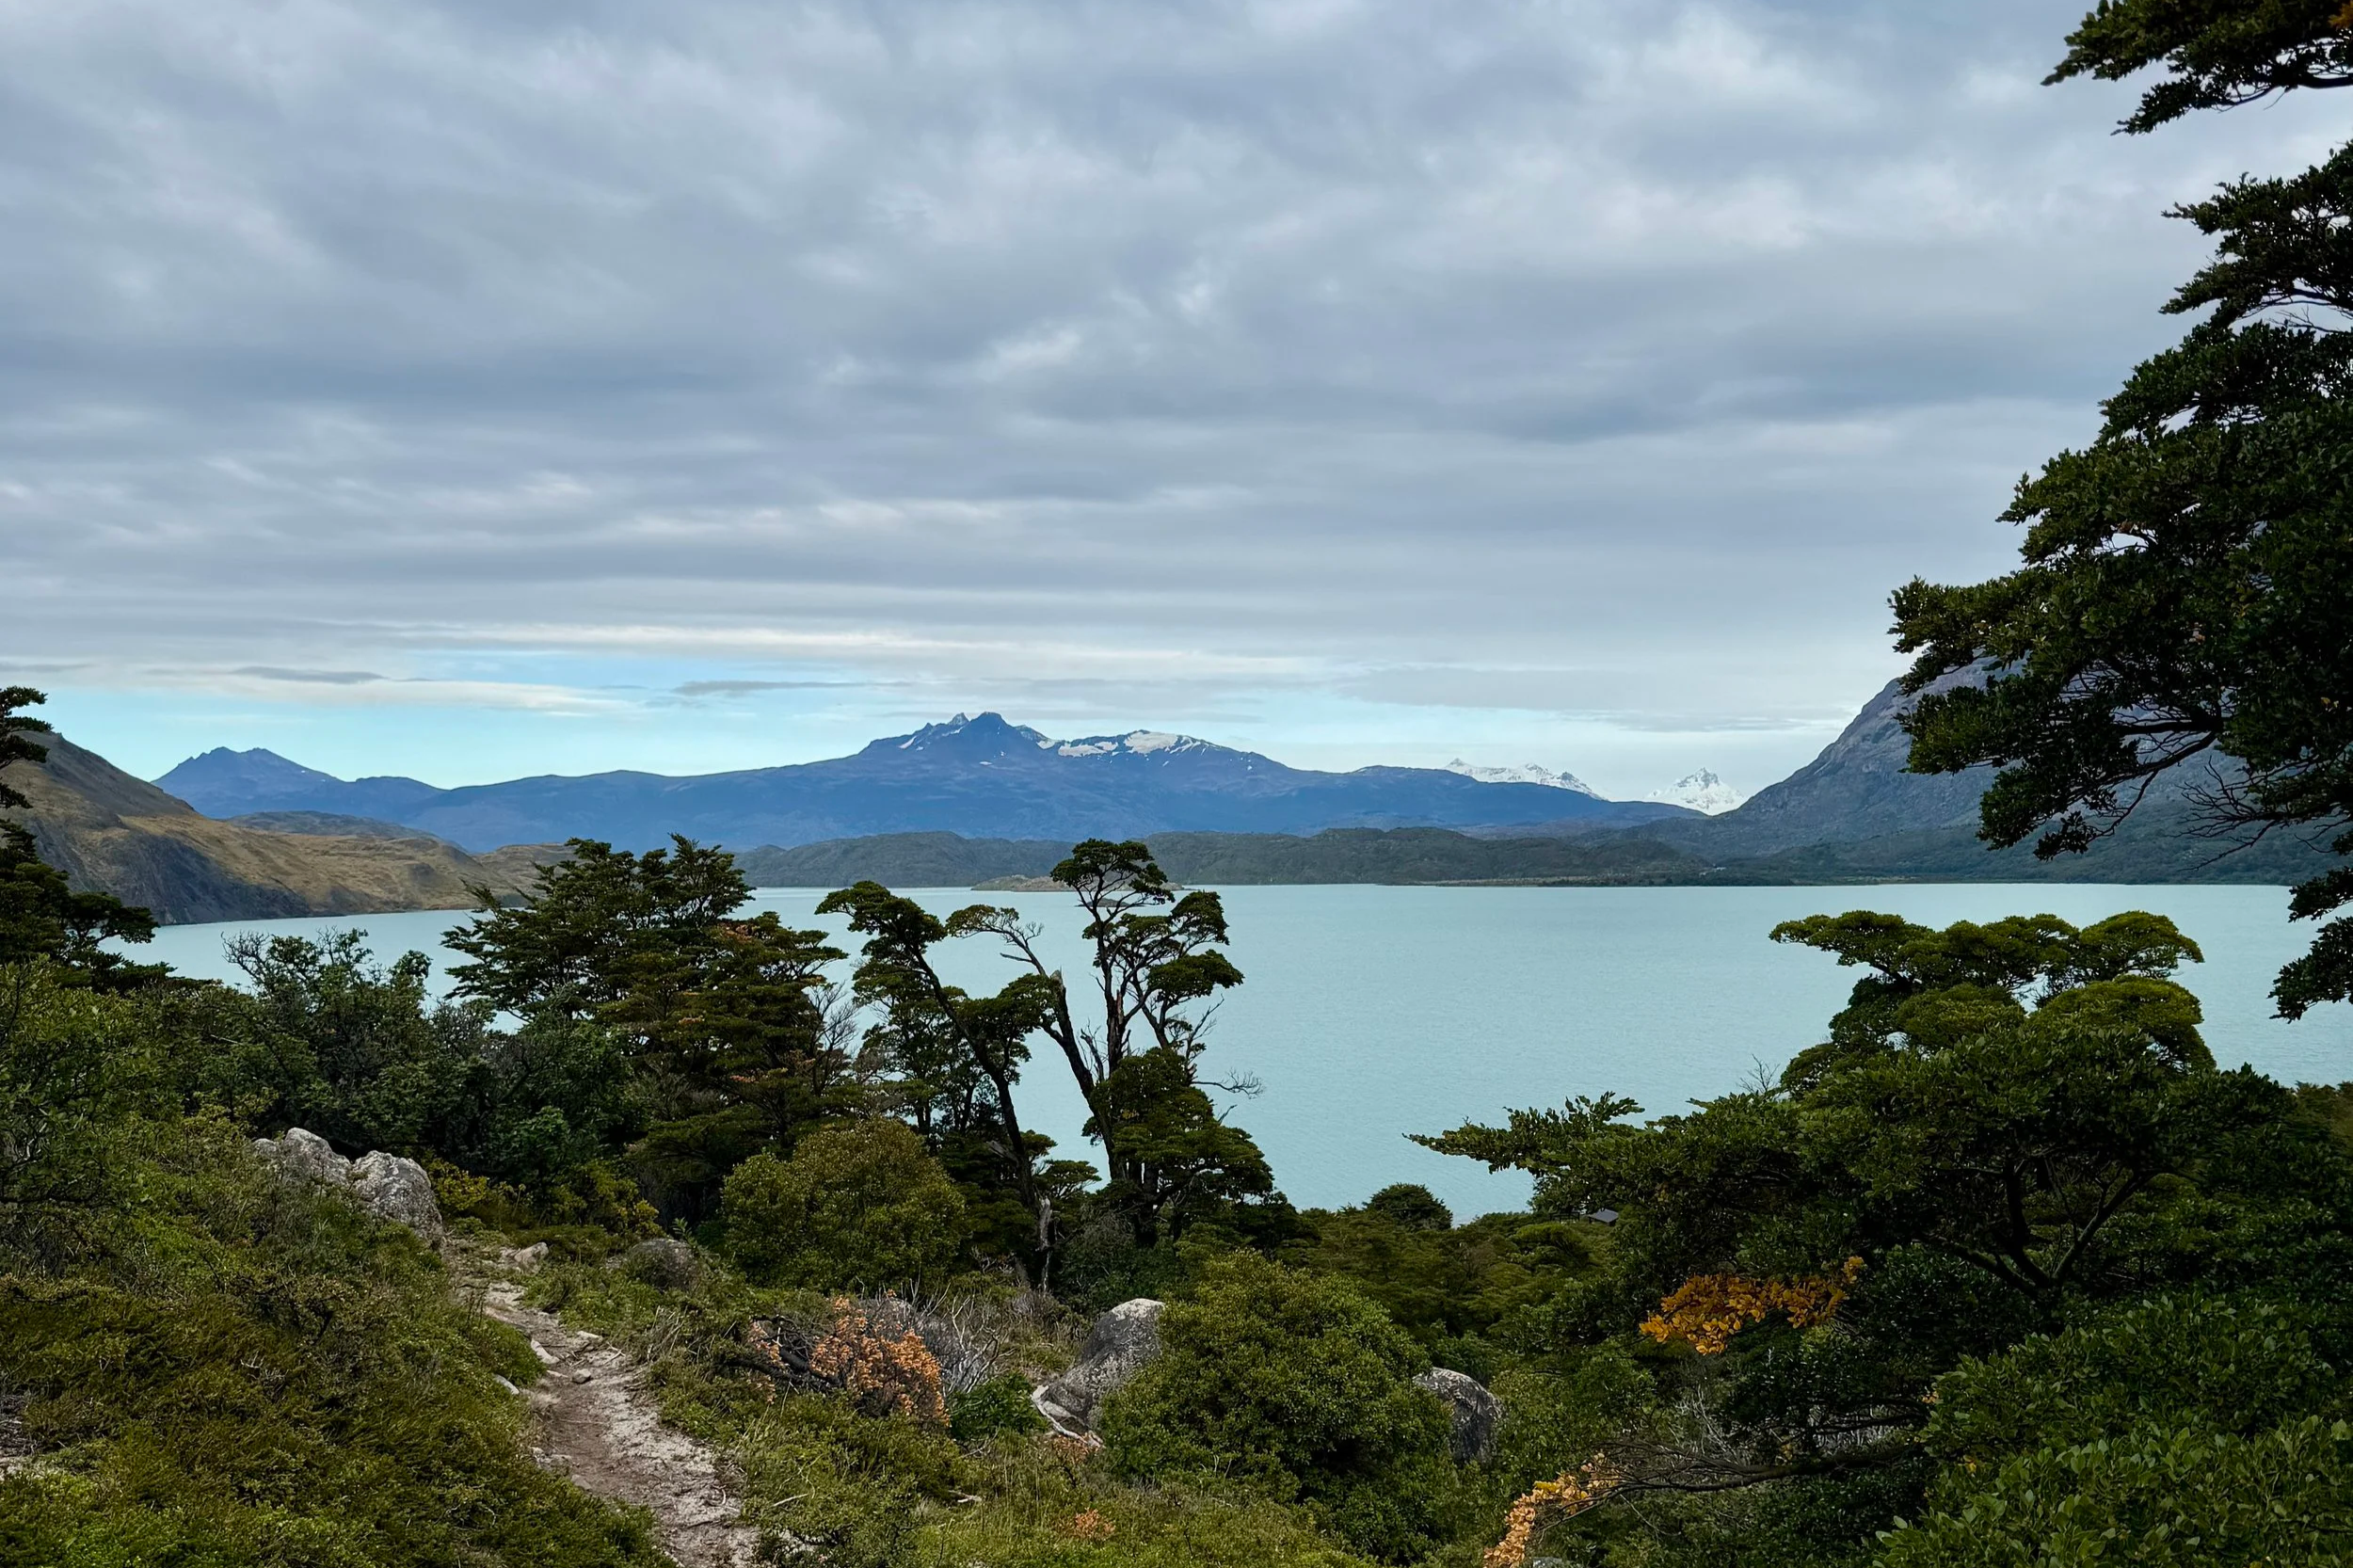
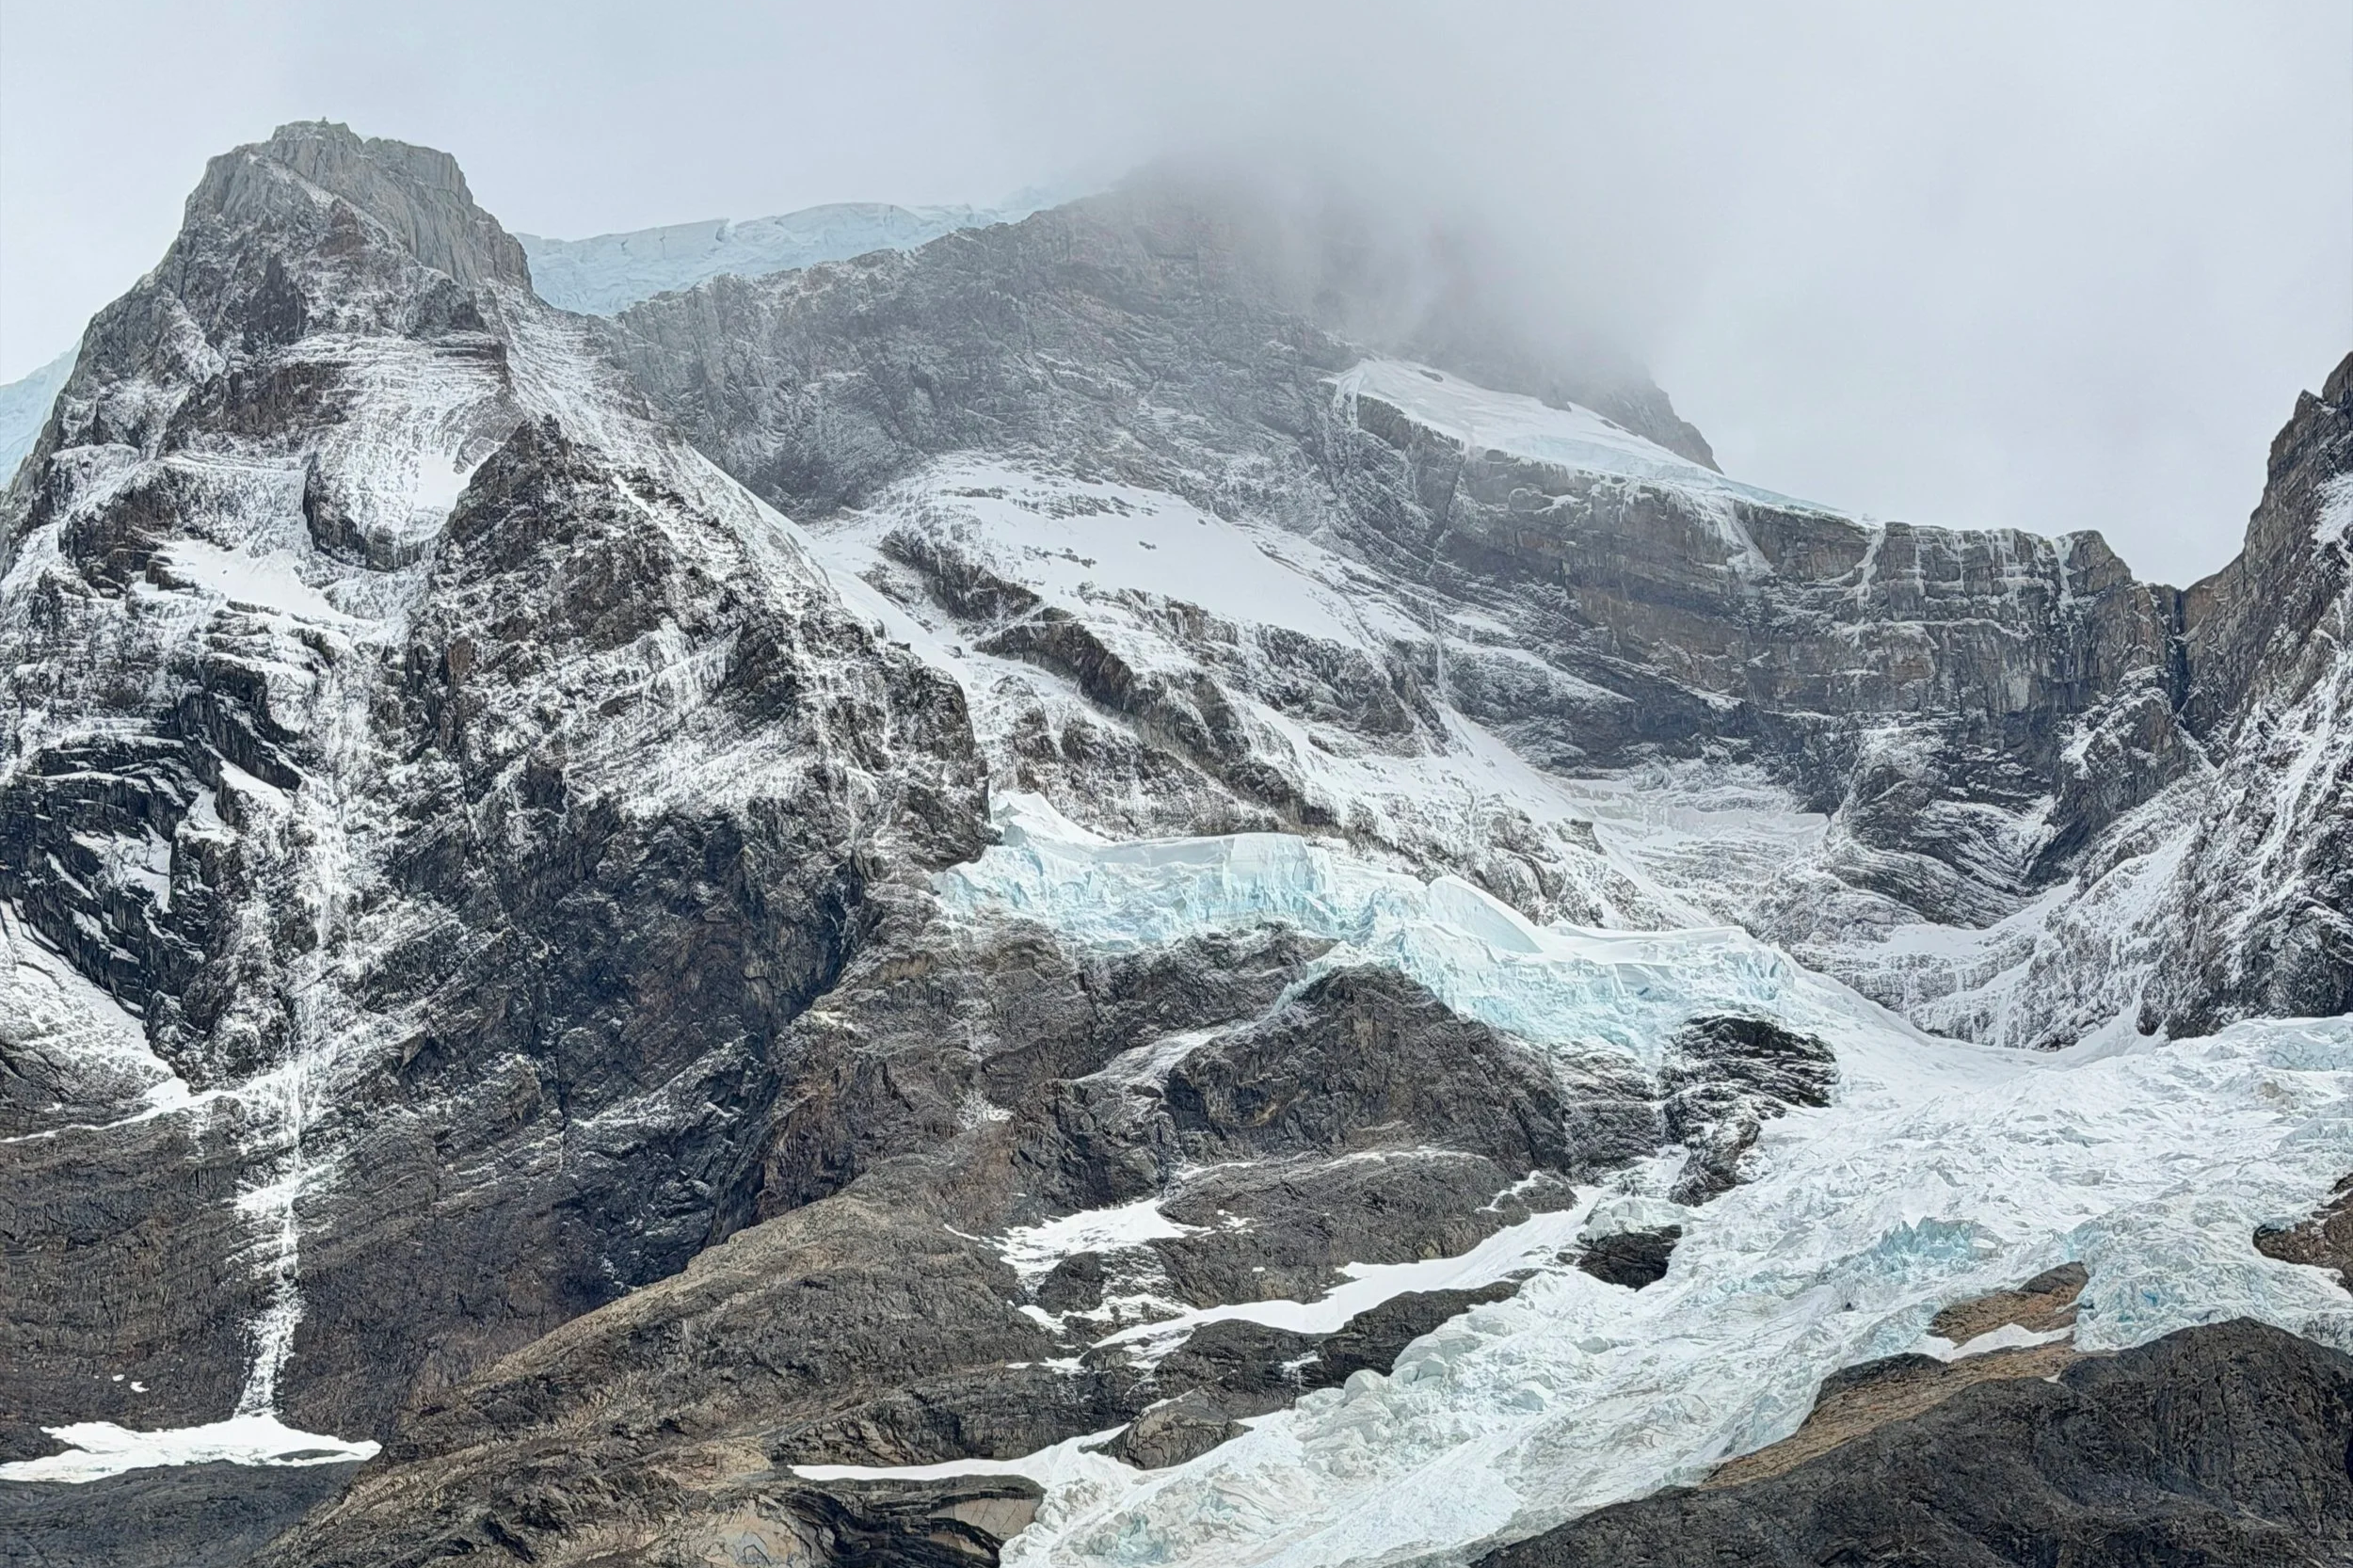
We hiked Patagonia’s famous W circuit, heading west to east from Paine Grande to Grey Glacier, into Mirador Britanico and Cuernos, before finishing with Cuernos and the Torres del Paine lake view.
Here is everything you need to know about hiking the W in Patagonia.
Where to stay before the Patagonia W trek
Most people stay in Puerto Natales ahead of starting the W trek. The small town is a couple of hours by bus, and buses run from the bus station frequently. Note that these are not part of your park entrance ticket and need to be booked separately.
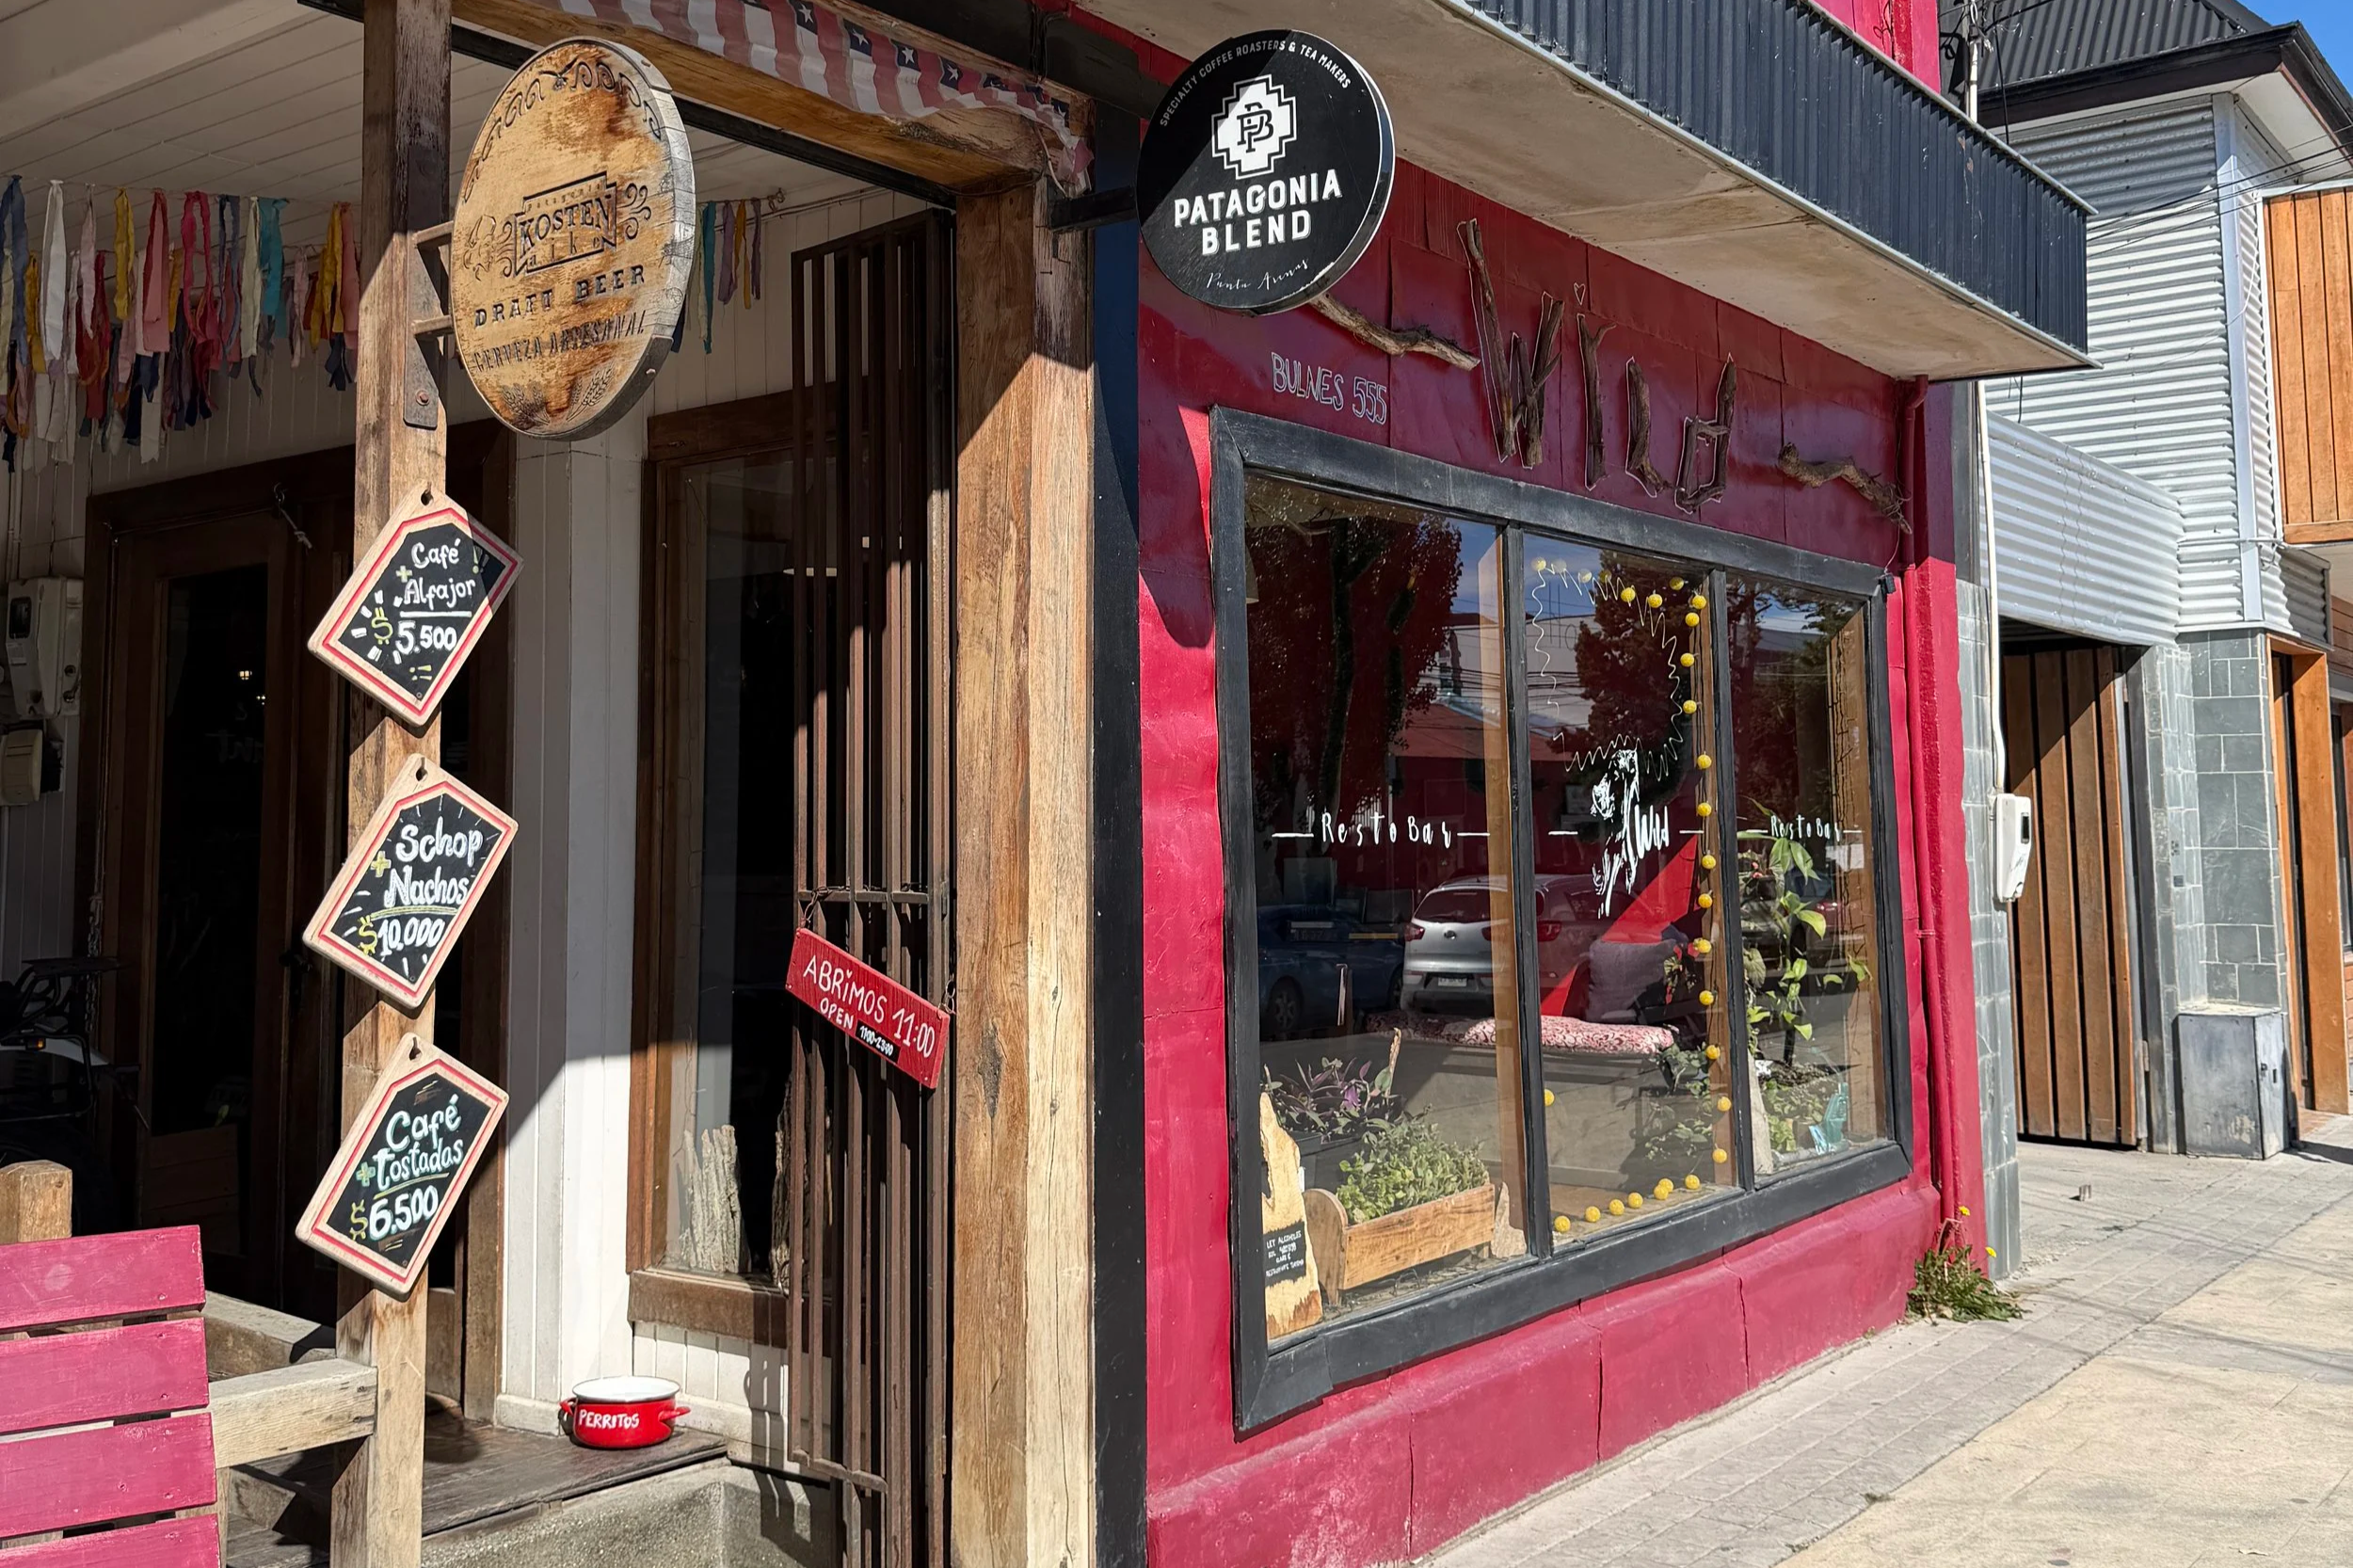
We stayed at the Wild Hostel before and after the hike and we were able to leave our bags there while we were out in the mountains which was very convenient. They also made us a takeaway breakfast/lunch bag as we were leaving too early for the breakfast they served on the morning our trek started.
Find out more about our four nights in Puerto Natales here.
Where to start the Torres del Paine W hike west to east

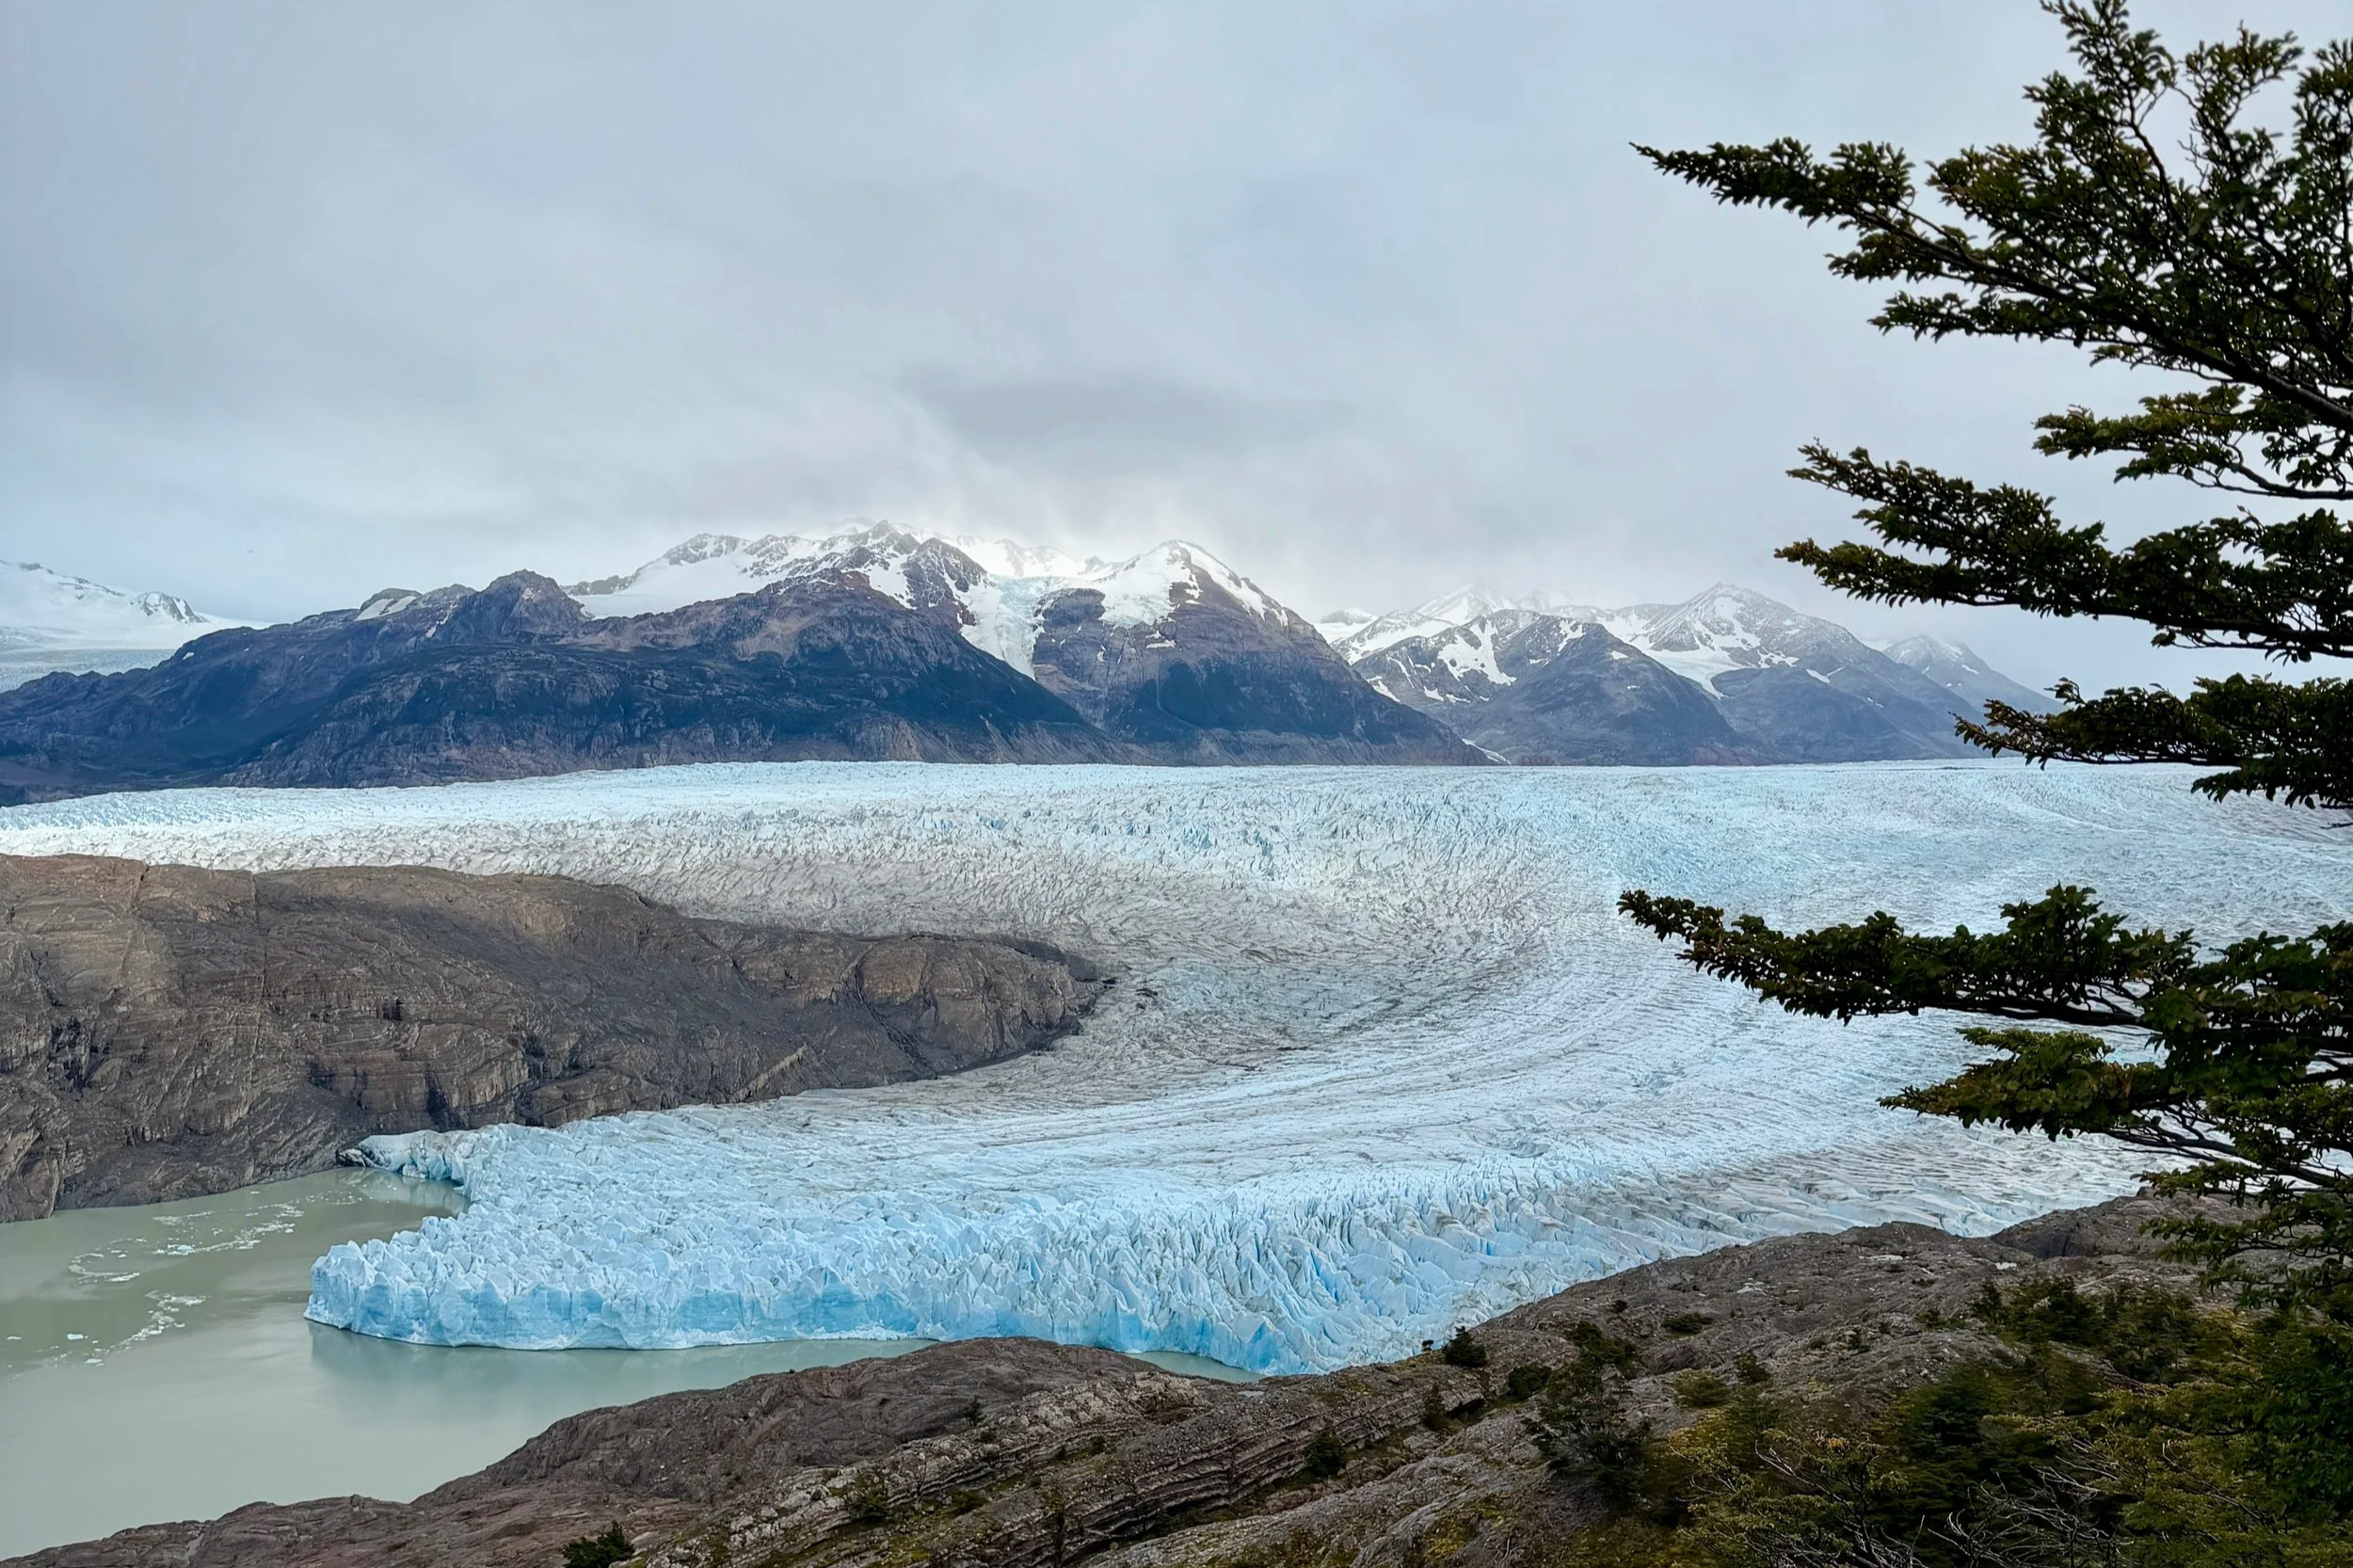
We hiked west to east, starting at Paine Grande and hiking out to Grey glacier and spending the night at the Grey Glacier. You could also hike further along, or camp at Paine Grande and drop your bags on arrival then do a ~24km day hike out to Grey Glacier and back.
We then spent night two back at Paine Grande, night three at Cuernos, and night four at Chilenos before heading back to Puerto Natales from Central.
There are many options for how you can do the W hike over different stops and different lengths of time. But this route worked well for us and meant we were able to get full board at refugios each night.
If you hike east to west your campings/refugio itinerary would be different to this, but could potentially be the same in reverse order.
Which is the best direction to hike the Patagonia W trek?

East to west apparently is the most popular direction, and we had planned to do this but the dates that the five day hike fell on and the availability of refugios meant we couldn’t make it work. In the end though, we were glad that things worked out the way we did and we went west to east.
We found that the refugios and food improved each night in this direction, and ending with the best food at Chileno was definitely what we needed after four days of hiking!
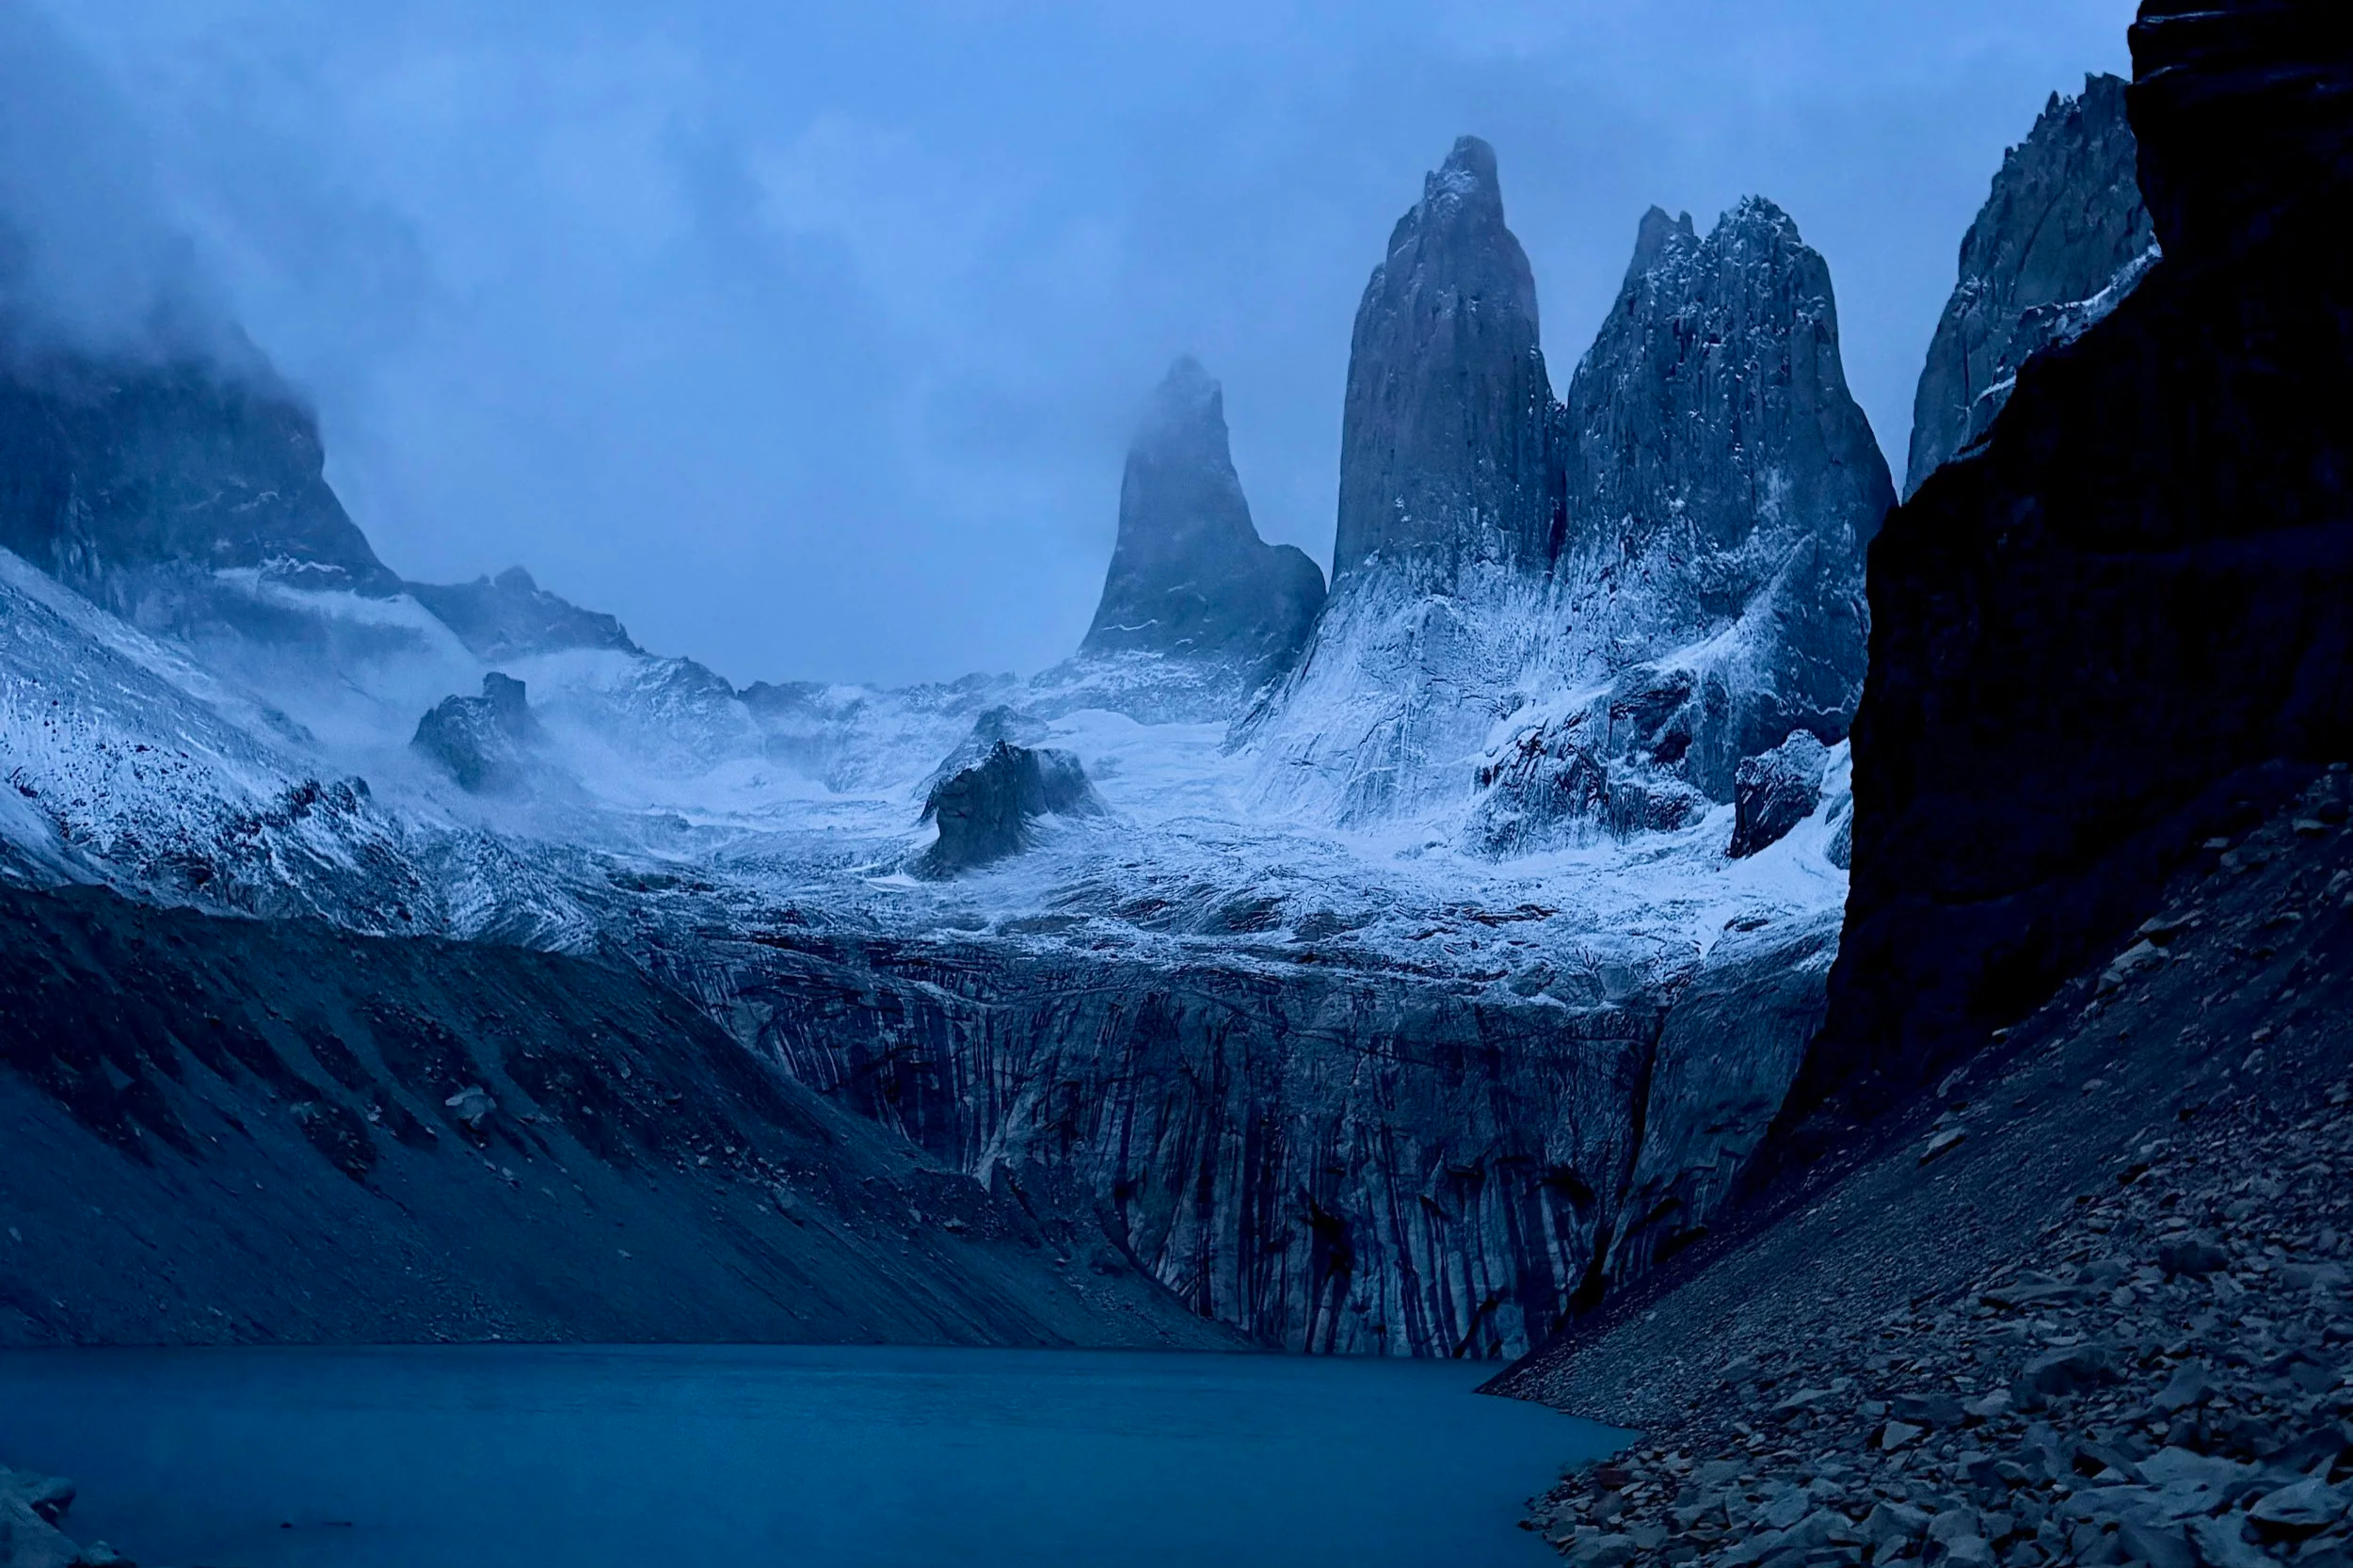
The longest hiking day is also shorter going west to east over five days and your final day begins with sunrise over Torres del Paine which is an unmissable experience, in our opinion. Plus, Torres del Paine is the highlight of the trek so walking towards it rather than seeing it all on day one seemed like the preferable route to us.
But you could probably find plenty of benefits to the reverse direction too, and obviously both directions are incredible and come with their own perks.
Find out more about our day-to-day itinerary hiking the W trek west to east here.
Do I need to hire hiking gear?
The chances are you will need to hire hiking gear for the W hike. We were in Patagonia as part of an eight week trip and didn’t want to take our large, heavy travel backpacks into the park with us. We also didn’t travel with poles and sleeping bags. So we rented this gear as well ask small, packable day packs from Rental Natales in Puerto Natales.
This cost us about £135 per person for six days (as you’ll need to pick it up the day before your hike starts). They take a large holding deposit in credit card and if you’re not able to drop it back the day your rental ends, there is a grace period up until 10am the next day.
If you’re camping you may also want to rent a tent and other camping equipment. You can also buy food supplies and pretty much everything else you need for hiking – including clothing and boots – at Rental Natales.
Do I need hiking poles on the W trek?
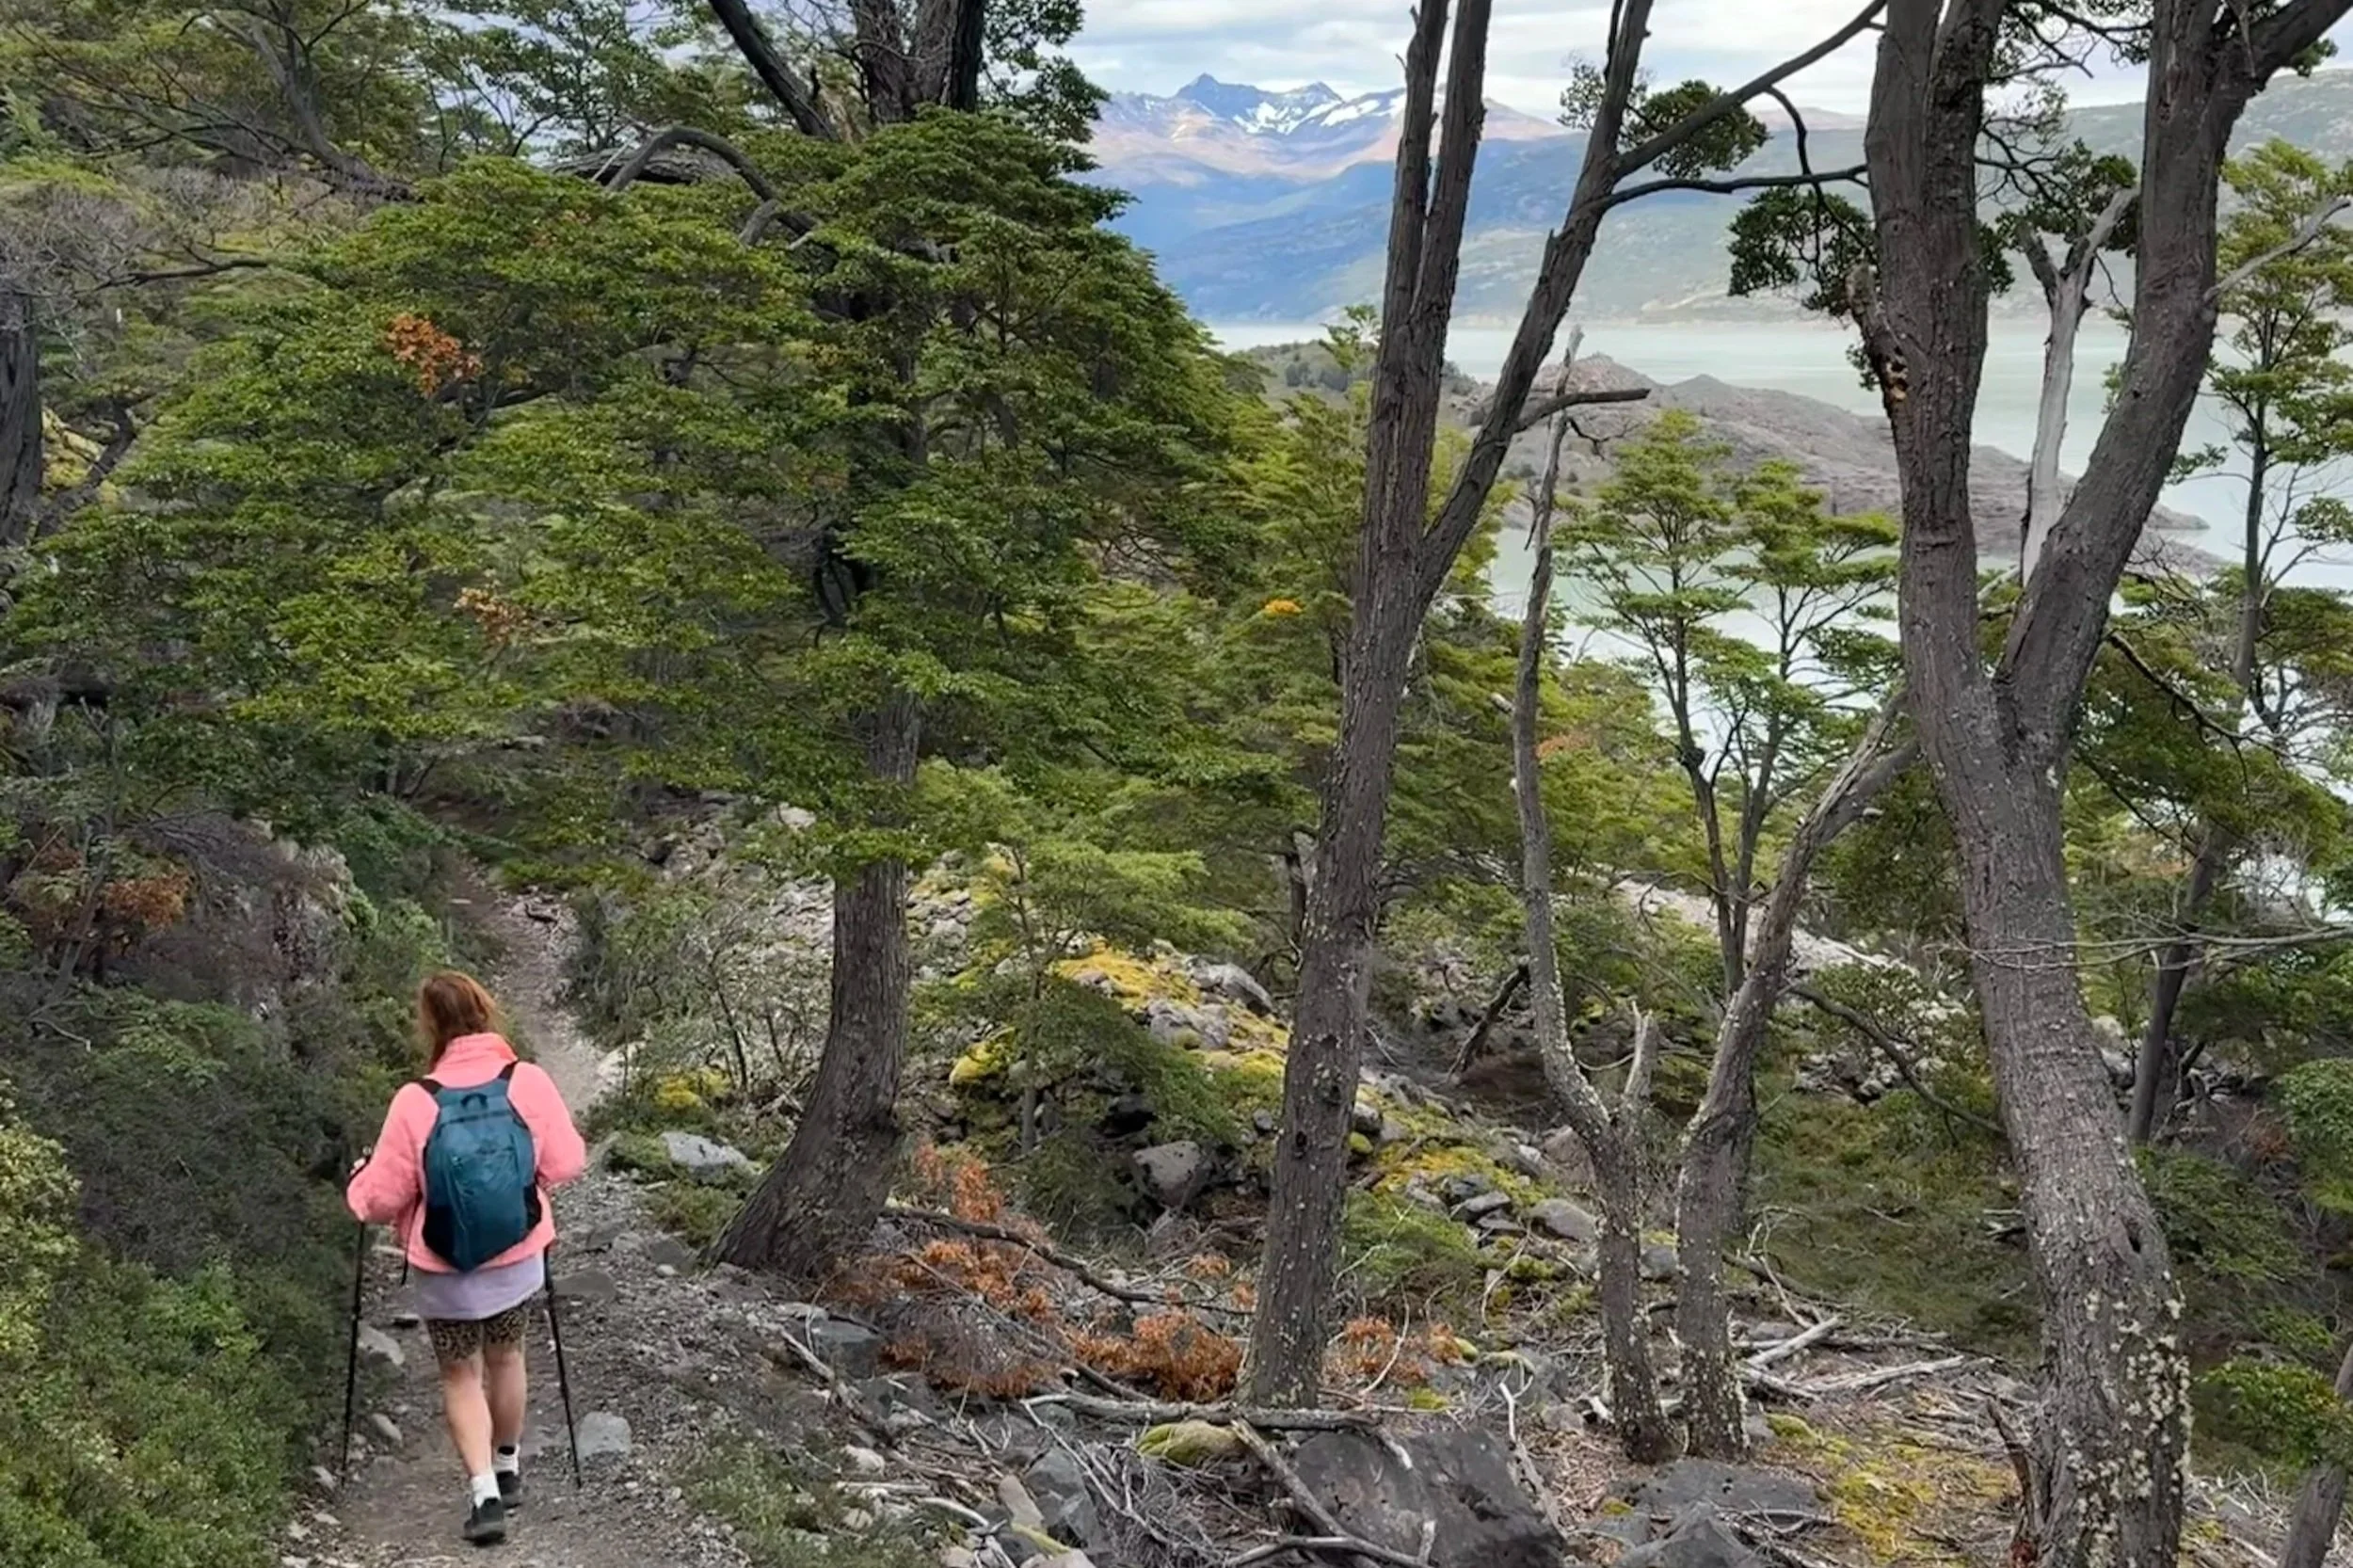
I’d never hiked with poles before and didn’t really think they seemed necessary but I’m so glad we hired them for the Patagonia W trek. There are some steep up and down areas and the poles really helped for stability and support – especially with a large backpack on.
They’re also great for taking some of the impact off your knees and ankles on uneven ground and downhill sections. It might not sound that important but when you’ve been hiking all day with weight on your back you’ll appreciate it.
I’m sure hiking poles were what helped us keep a reasonable speed on all of our hikes rather than lagging behind. And you’ll notice that more than 50% of the walkers you pass, of all ages, are using poles in Patagonia.
How hard is a five day hike?
You can take day trips into Parque Nacional Torres del Paine or choose to hike as little or as much as you like. But for the W hike the most common options are four or five day treks. It sounds intense and obviously in parts it is. But it’s broken up into (mostly) fairly easy chunks and you can organise your own days so they are doable for you.
You can also be smart about how hard or easy this is for you by considering little things like when you carry your big bags and when you don’t. If part of your hike takes you up to a view point and then back down past your refugio or campsite, leave your big bag and just take a day pack for that section of the day.
You can also choose to leave off sections of the hikes, for example if the visibility is bad and you know you won’t be able to see anything from the viewpoints.
For me the hardest parts were steep downhill sections at the end of a long hike, as they put a lot of pressure on your joints – especially with a big bag on your back. Hiking poles were a lifesaver here for taking some of the pressure off.
But overall, if you’re fit and healthy, it’s not that hard. It’s a challenge and it’s tiring and in some places it’s truly difficult and painful! But everything beautiful and amazing about the experience overrides any of those feelings and my lasting memories of Patagonia are not that it was hard.
How long does each hike take?
Here is a breakdown of each hike we did per day including each stretch of longer hikes with stopping points. All times include breaks for photos and food.
Day 1 (11-13km):
Paine Grande to Refugio Grey: 11km in 4 hours
Grey to the grey glacier mirador: 1.5km in under an hour (optional)
Day 2 (19km):
Grey to Puente Guardas (second bridge): ~8km in under 3 hours although signs say 2 hours each way (optional but worth it)
Refugio Grey to Paine Grande: 11km in 3 hours 20 minutes
Total: 19km in 6 hours
Day 3 (24km):
Paine Grande to Campamiento Italiano: ~7km in 2 hours (drop big bags here)
Campamiento Italiano to Mirador Británico and back: 11km in 5 hours (pick up big bags again)
Campamento Italiano to Cuernos: ~5km in 1 hour 50 minutes
Total: Refugio Grey to Cuernos: ~24km in 9 hours 40 minutes

Day 4 (12km):
Cuernos to Chileno: 12km in 4.5 hours
Day 5 (14km):
Chileno to Torres del Paine: 4.4km in 1 hour 45mins
Torres del Paine to Chileno: 4.4km in 1 hour 50 minutes (collect bags)
Chileno to Torres Central: 6km in 2 hours
Total: ~15km in 6 hours (8 total as we took long breaks this day)
Find out more in our day-by-day breakdown of hiking the W trek west to east here.
Is it best to camp or stay in refugios?
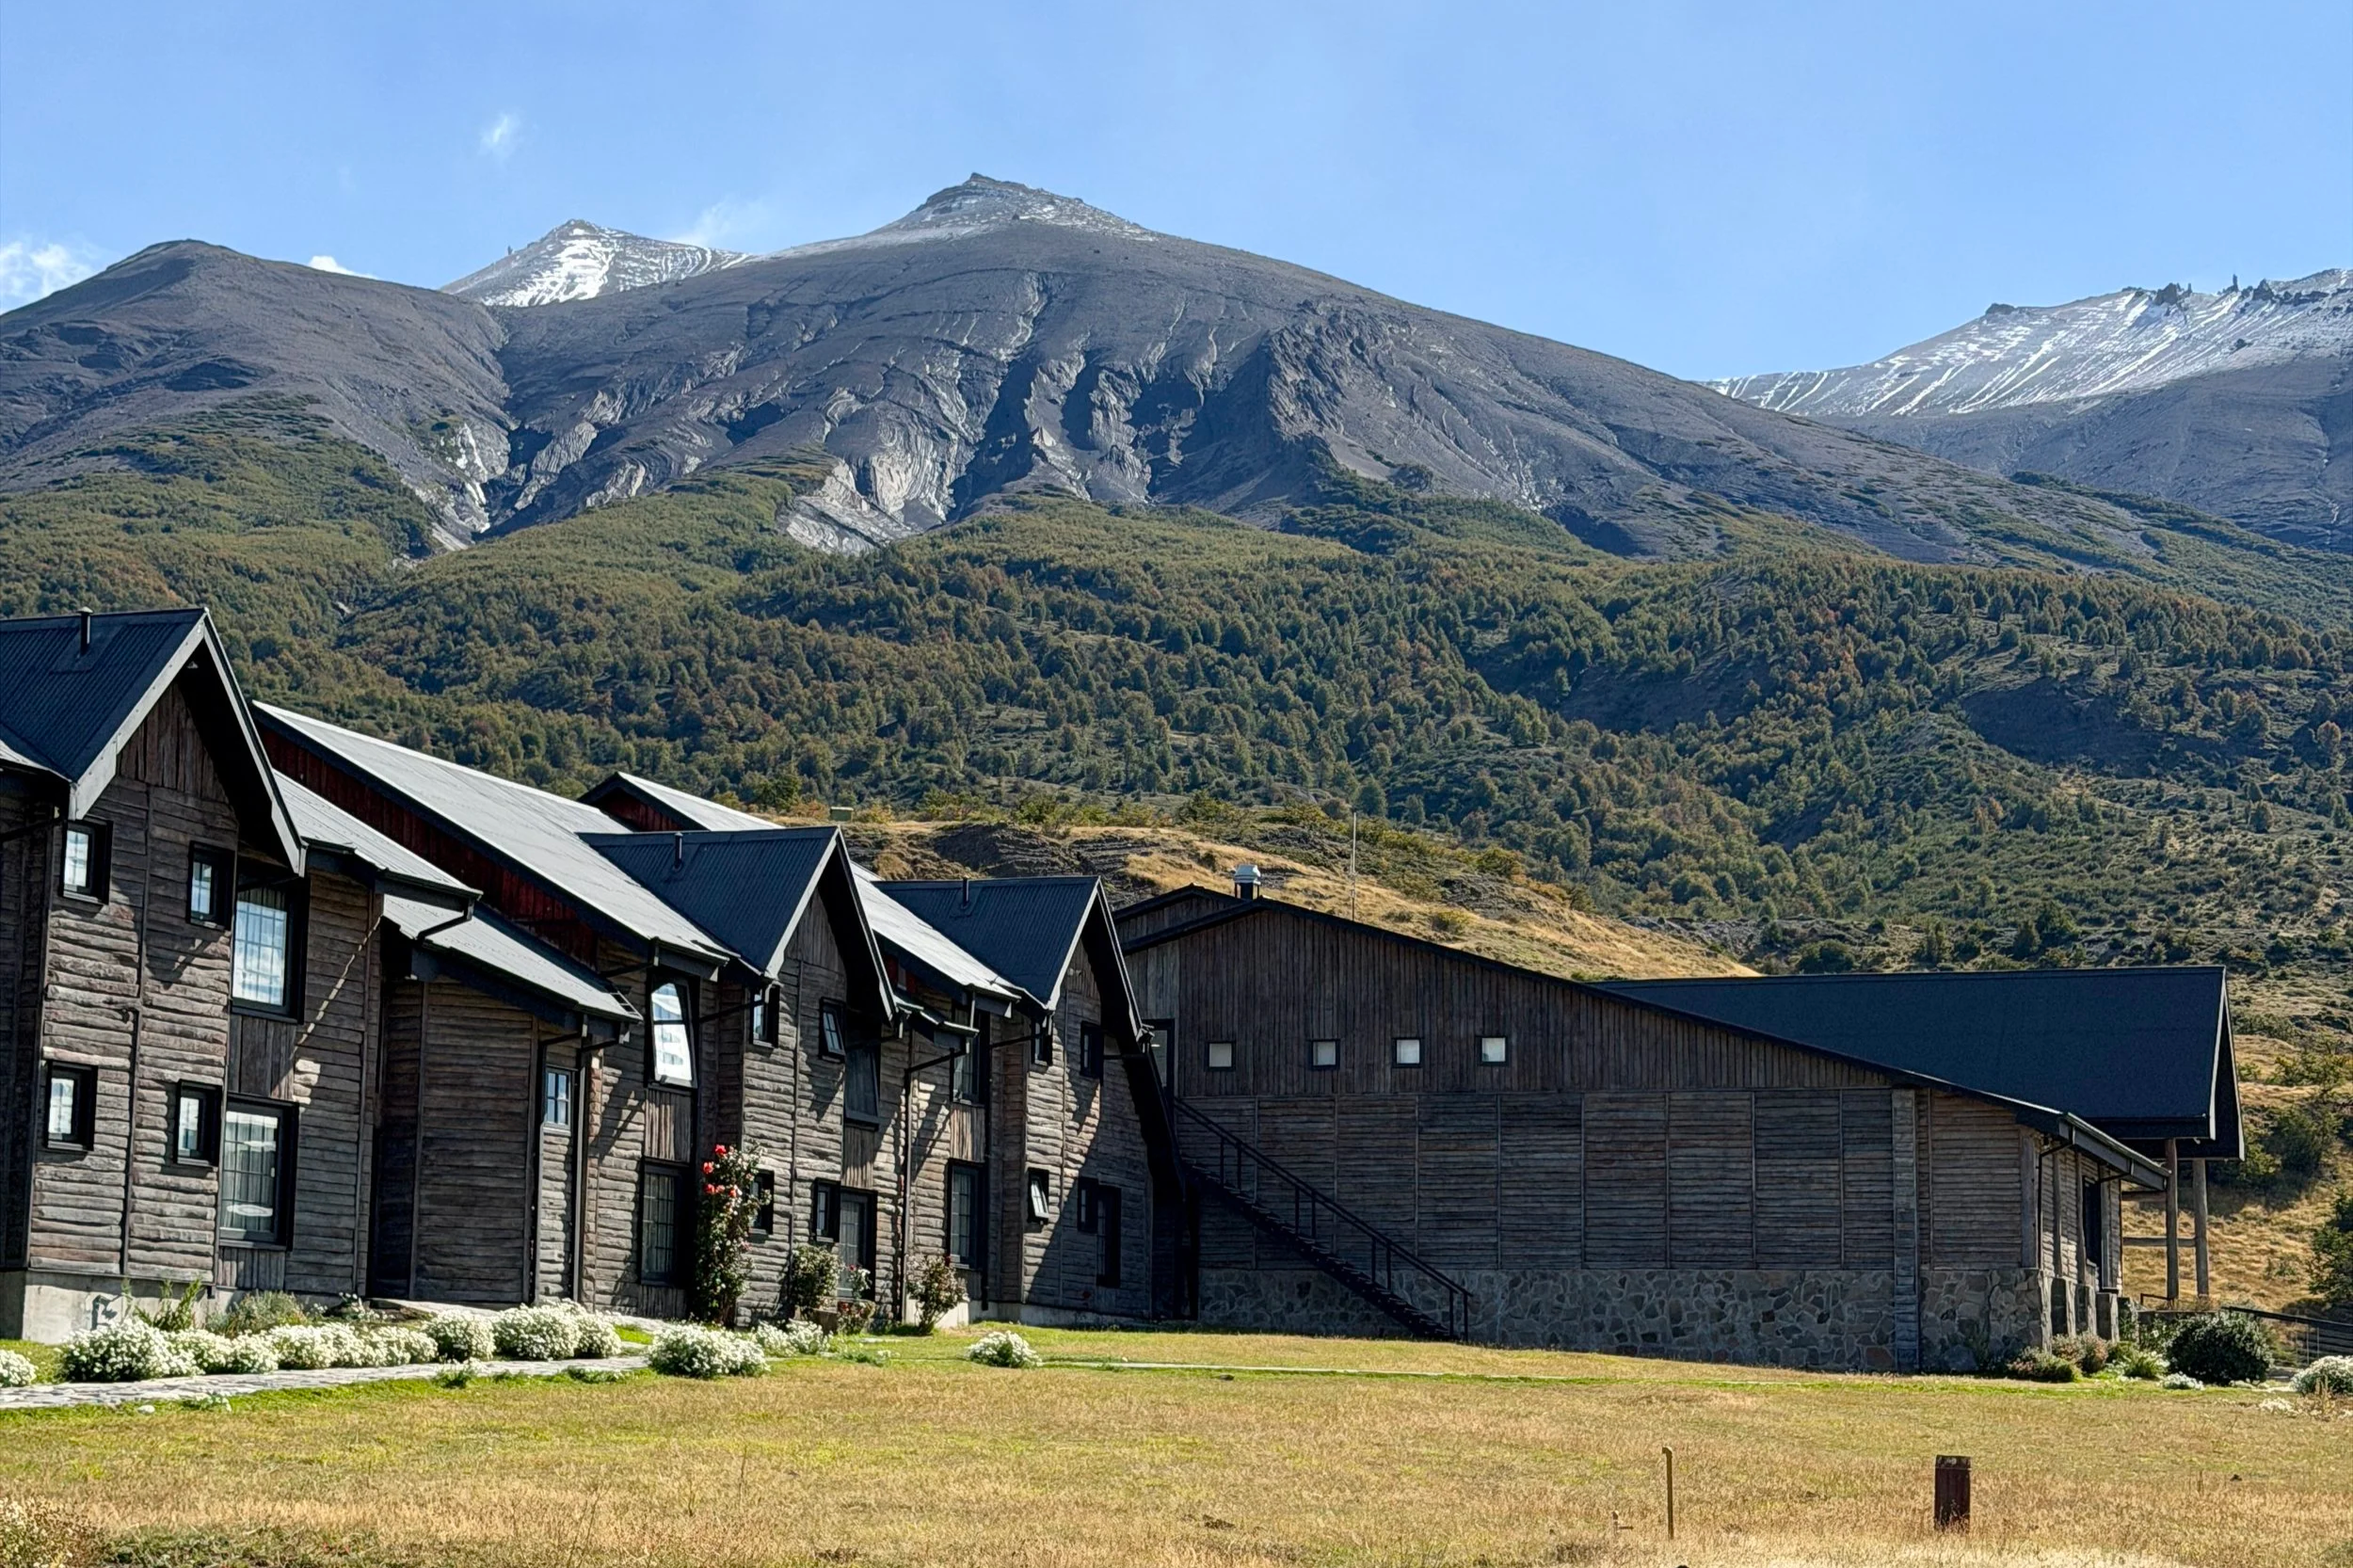
We opted for refugios where we could but had to camp on our final night as there was no Refugio space at Chilenos that night. A bed in a refugio costs more but in some camps they also come with the benefit of hot water showers.
At Grey the shared dorms sleep four people and in Paine Grande they sleep six. At Cuernos there were five of us in the room although there were eight bunks. And at Chileno we were in a premium tent which was raised off the ground and really spacious. It came with sleeping bags and pillows and the floor of it was mattress-like although if you’re camping in other places and bringing a mat you could also have used that. There was plenty of space for two people plus all our bags and clothes.
Grey and Paine Grande are run by Vertice and the Cuernos and Chilenos camps are run by Las Torres Patagonia (these have better food but a bit less indoor space at bars and restaurants).
The camping is well set-up and usually comes with its own facilities as well as lots of space for those bringing their own tents. So the accommodation options really depend on what you prefer, what space there is during the time of your visit, and your budget. Some people prefer the privacy of a tent over a shared dorm. Others prioritise a bed.
The weather can get bad in the mountains so if you do camp make sure you’re prepared with a good sleeping bag and sleeping bag liner. We hired these fairly cheaply from Rental Natales and many people choose to use theirs in dorm beds as well for extra warmth (although I didn’t find I needed that).
Is it best to go for catered/full-board on the W trek or bring your own food?
We opted for full board so we didn’t have to carry five days worth of food with us, which we didn’t have space for. We did bring protein bars and energy gels just in case. The food at the refugios was fine… not the best food but it fills you up and fuels you for the long hikes. You can also buy drinks at the bars at the camps although they are expensive. Plus they tend to sell food like burgers or pizza if you change your mind about self-catering or just want something extra. However it’s not cheap so if you’re happy to carry food with you it would make the trip much more affordable.
We found that the camp breakfasts, packed lunches, and camp dinners were enough food to get us through each day but if you know you’re likely to need more then bring light, easy-to-carry snacks with you.
What to pack for the W trek in Patagonia
The key to hiking the W trek is to pack light. A lot of your hiking will be done with your gear on your back so consider what’s essential and what isn’t.
You’ll also need to check the forecast and consider the season and month of your trip as the weather changes drastically throughout the year in Patagonia. That said it can also change drastically hour to hour in all seasons and it’s not uncommon to experience sun, wind, rain, and snow all in one day – and sometimes at the same time! So it’s best to be over-prepared and pack for all possibilities.
For a five day W trek in March I packed:
A waterproof shell coat
A padded faux down base jacket
A fleece jacket
Adidas leggings
Uniqlo Airism leggings
Three long-sleeve tops
Two T-shirts
Two vest tops
Three sports bras
One pair of socks per day
One warm pair of socks for nights
A pair of trousers to sleep in
A wool hat
A cap
A pair of gloves
A neck warmer/buff
Sunglasses
Hiking trainers
Birkenstock EVA sandals
One bikini
Passport with PDI
A phone case with a strap
A bumbag/accessible bag
Water bottle and filter
Battery packs
Protein bars/energy gels
A quick drying towel
A bag for laundry/worn clothes
Bandages/straps for knees and ankes (if needed)
Daily toiletries including SPF and shower gel
Things we hired:
A 30L backpack
A packable day pack
A sleeping bag (although due to our accommodation choices and mild weather I didn’t use it)
A sleeping bag liner
Hiking poles (don’t skip this!)
Find out more and read my full packing list for two weeks in Patagonia here.